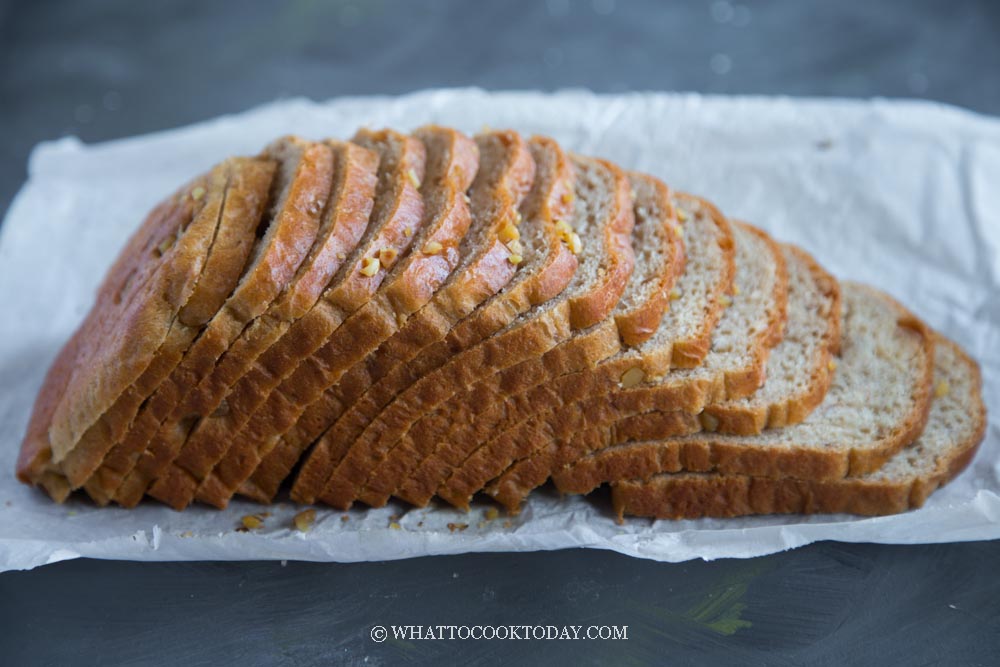
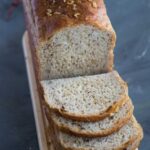
This recipe yields a very soft flavorful peanut butter bread loaf without kneading and long hour of fermentation. The dough is easy to work with and it’s a great bread recipe for bakers of any level.
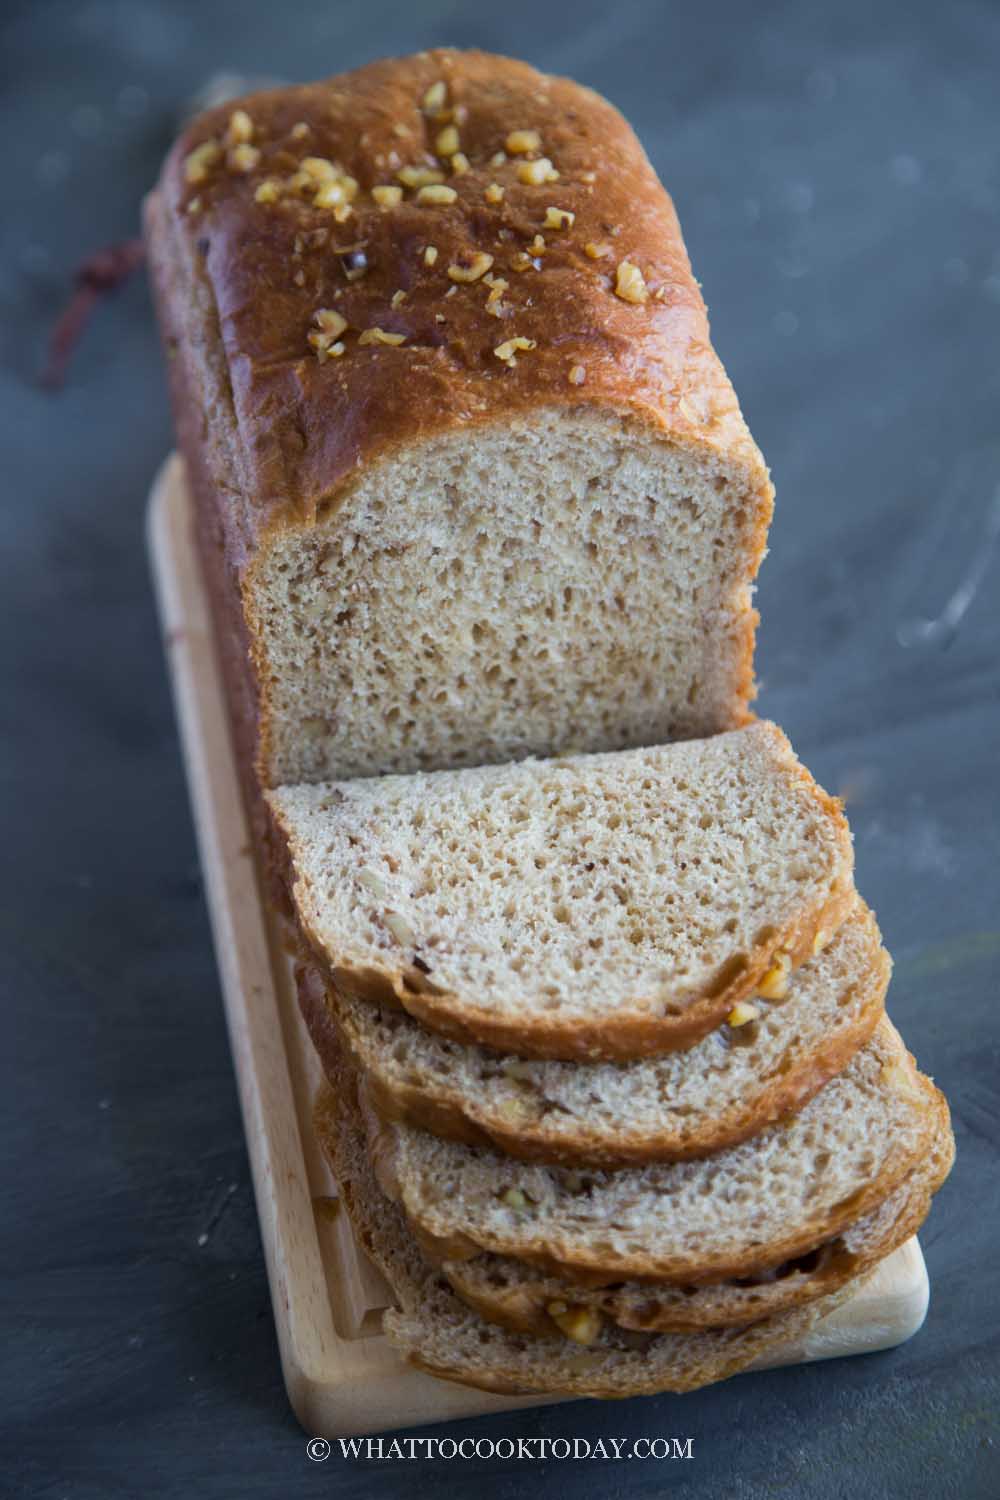
I absolutely love the aroma of peanut butter in bread and cakes. When you bake them, the entire house smells heavenly. This no-knead peanut butter bread loaf is so easy to put together. If this is your first bread baking project, you will totally nail this.
Most of the no-knead bread has high hydration, is extremely sticky and wet though, and is usually round in shape. This no-knead peanut butter bread loaf is actually baked in a loaf pan.
Ingredients
1. Bread flour
I highly suggest using bread flour and not substituting it with all-purpose flour. We need high gluten for the support and to prevent the crumbs from being too crumbly
2. Peanut butter
You can use either creamy or chunky peanut butter. I haven’t tried using natural peanut butter so I can’t tell you exactly how this will affect the bread. If you choose to do so, you may want to stir it very well, since the oil usually separates
3. Sugar
This is not meant to be a sweet bread and you won’t taste much of it other than some sugar enhance the overall taste
4. Salt
I use fine sea salt for this recipe
5. Yeast
You can use instant yeast or active dry yeast. If you use active dry yeast, be sure to dissolve it with some water first
6. Milk
I use 1% cow’s milk. You can use non-dairy milk too or just water
7. Egg
I use a large egg that usually weighs about 58-60 grams with the shell

How to make easy no-knead peanut butter bread loaf
The step-by-step photos looked a bit different than the photos of the bread because I took this at different times when I made this bread in case you are wondering.
1. Combine all the dry ingredients in a large mixing bowl. If you use active dry yeast, mix it with 2 Tbsp of warm water (NOT hot) and let it bloom for 10 minutes. It will be bubbly. If not, the yeast may not be active anymore. Then you can add it into the rest of the ingredients

2. Add the wet ingredients. Use a wooden spatula to stir and combine into a dough that is slightly sticky. Scrape the side of the bowl to gather all the dough into a dough ball. Apply some oil or non-stick spray on the side to prevent sticking

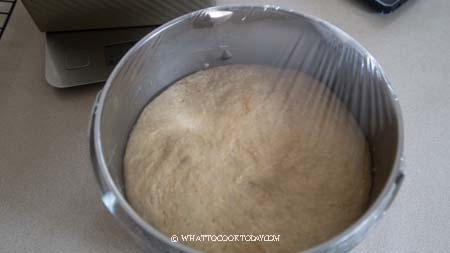
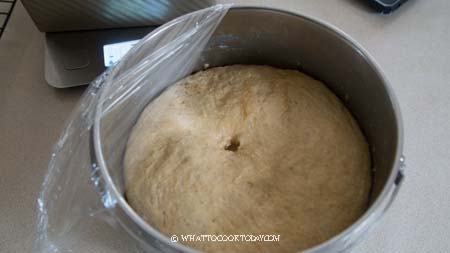
2. Cover with a cling wrap and let the dough proof until it doubles in size, about 1-2 hours or longer, depending on the temperature. When you poke the dough with your finger, the indentation stays, which means the 1st proofing is done
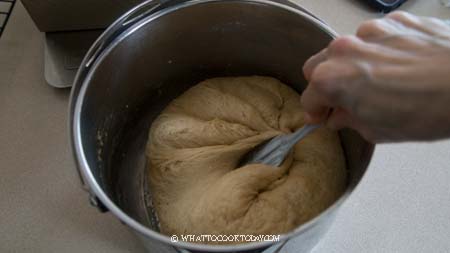
3. Prepare the bread loaf pan by applying some oil all over or use a non-stick cooking spray. You can also line with parchment paper at the bottom if you want. Punch down the dough to release air and then use a spatula to fold the dough over several times to deflate more air and to smooth the dough
4. Transfer the dough into a working surface. I have sprayed with some non-sticky spray. Flatten the dough and roughly spread it out into a rectangle shape and then roll and tuck. I didn’t do this before but after making this bread several times, this helps to build tension to the dough


5. Transfer into the loaf pan. Then gently press the dough to flatten and to fit into the pan nicely. Spray with some water and add some crushed peanuts by pressing them onto the surface of the dough so they stick and won’t come off after baking


6. Cover with a cling wrap or damp towel and put at a warm place to let it proof again. Let the dough proof until it has risen about 1 inch above the rim. 15 minutes before end of proofing, preheat the oven to 350 F (180 C)

6. Place the loaf pan on the middle rack and bake for 30-35 minutes. If you have a digital thermometer, it should be 200 F (93 C). Let the bread cool in the pan for 2 minutes. Brush the top of the loaf with some melted coconut oil if you want a soft crust. You can opt out as well. Transfer the bread to a cooling rack to let it cool down completely before slicing and storing the bread
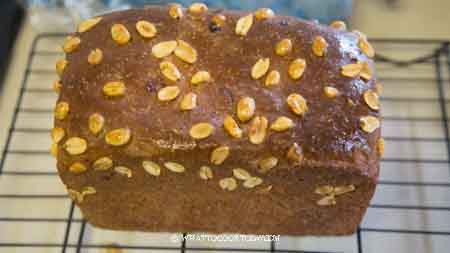
The most difficult part now is to wait and not to slice the bread while it’s still hot! If you can wait until the next day, the flavor gets even better!

Did you make this no-knead peanut butter bread loaf recipe?
I love it when you guys snap a photo and tag to show me what you’ve made 🙂 Simply tag me @WhatToCookToday #WhatToCookToday on Instagram and I’ll be sure to stop by and take a peek for real!
The recipe is adapted from here. The recipe has been updated on July 23, 2022 to include new step-by-step photo and to update the amount of water on the recipe, and to include a short video tutorial.
No-Knead Peanut Butter Bread Loaf
Ingredients
Dry ingredients:
- 350 gr bread flour
- 40 gr sugar
- ½ tsp salt
- 1 ¾ tsp instant yeast see notes 1
Wet ingredients:
- 150 gr creamy peanut butter
- 200 gr milk start with this amount and add as needed
- 1 large egg lightly beaten, about 60 grams with the shell
Topping:
- 40 gr Dry roasted peanuts finely chopped or leave whole
Instructions
Prepare the dough:
- Combine all the dry ingredients in a large mixing bowl. If using active dry yeast, add it after it has bloomed for 10 minutes with the rest of the ingredients. Add the wet ingredients. As water absorption by flour may vary, I suggest starting with 200 ml of liquid. Use a wooden spatula to stir and combine into a dough that is slightly sticky. If it's too dry, add more water 1 tablespoon at a time. The dough should be slightly sticky to touch
- Scrape the side of the bowl to gather all the dough into a dough ball. Apply some oil or non-stick spray on the side to prevent sticking
Proof the dough:
- Cover with a cling wrap and let the dough proof until it doubles in size, about 1-2 hours or longer, depending on the temperature. When you poke the dough with your finger, the indentation stays, which means the 1st proofing is done
- Prepare the bread loaf pan by applying some oil all over or use a non-stick cooking spray. You can also line with parchment paper at the bottom if you want
- Punch down the dough to release air and then use a spatula to fold the dough over several times to deflate more air and to smooth the dough
- Transfer the dough into a working surface. I have sprayed with some non-sticky spray. Flatten the dough and roughly spread it out into a rectangle shape and then roll and tuck. I didn’t do this before but after making this bread several times, this helps to build tension to the dough
- Transfer into the loaf pan. Then gently press the dough to flatten and to fit into the pan nicely. Spray with some water and add some peanuts by pressing them onto the surface of the dough so they stick and won’t come off after baking
2nd proofing:
- Cover with a cling wrap or damp towel and put at a warm place to let it proof again. Let the dough proof until it has risen about 1 inch above the rim. 15 minutes before end of proofing, preheat the oven to 350 F (180 C)
Bake the bread:
- Place the loaf pan in the middle rack and bake for 30-35 minutes or until the top is nicely golden brown. If you have a digital thermometer, the internal temperature should be 200 F (93 C)
Cool down:
- Let the bread cool in the pan for 2 minutes. Brush the top of the loaf with some melted coconut oil or butter if you want a soft crust. You can opt out as well
- Transfer the bread to a cooling rack to let it cool down completely before slicing and storing the bread
Notes
- If you use active dry yeast, mix it with 2 Tbsp of warm water (NOT hot) and let it bloom for 10 minutes. It will be bubbly. If not, the yeast may not be active anymore


4 comments
What do you mean by adding active dry yeast after it has bloomed ? Can I just add the yeast to the milk without peoofing it ?
Ideally, you want to mix it with 2 Tbsp of warm water (NOT hot) and let it bloom for 10 minutes. It will be bubbly then you mix it with the rest of the ingredients. But if you choose not to, you can add it straight without blooming it first too, your dough may take a bit longer to rise
Hi !
I’m anxious to bake this bread.
I believe your left out:
“Combine wet-ingredients in a medium bowl.”
Thank You for sharing.
Hello, thank you so much for catching that. I’ve added that in accordingly 🙂 I hope the bread will turn out great for you!